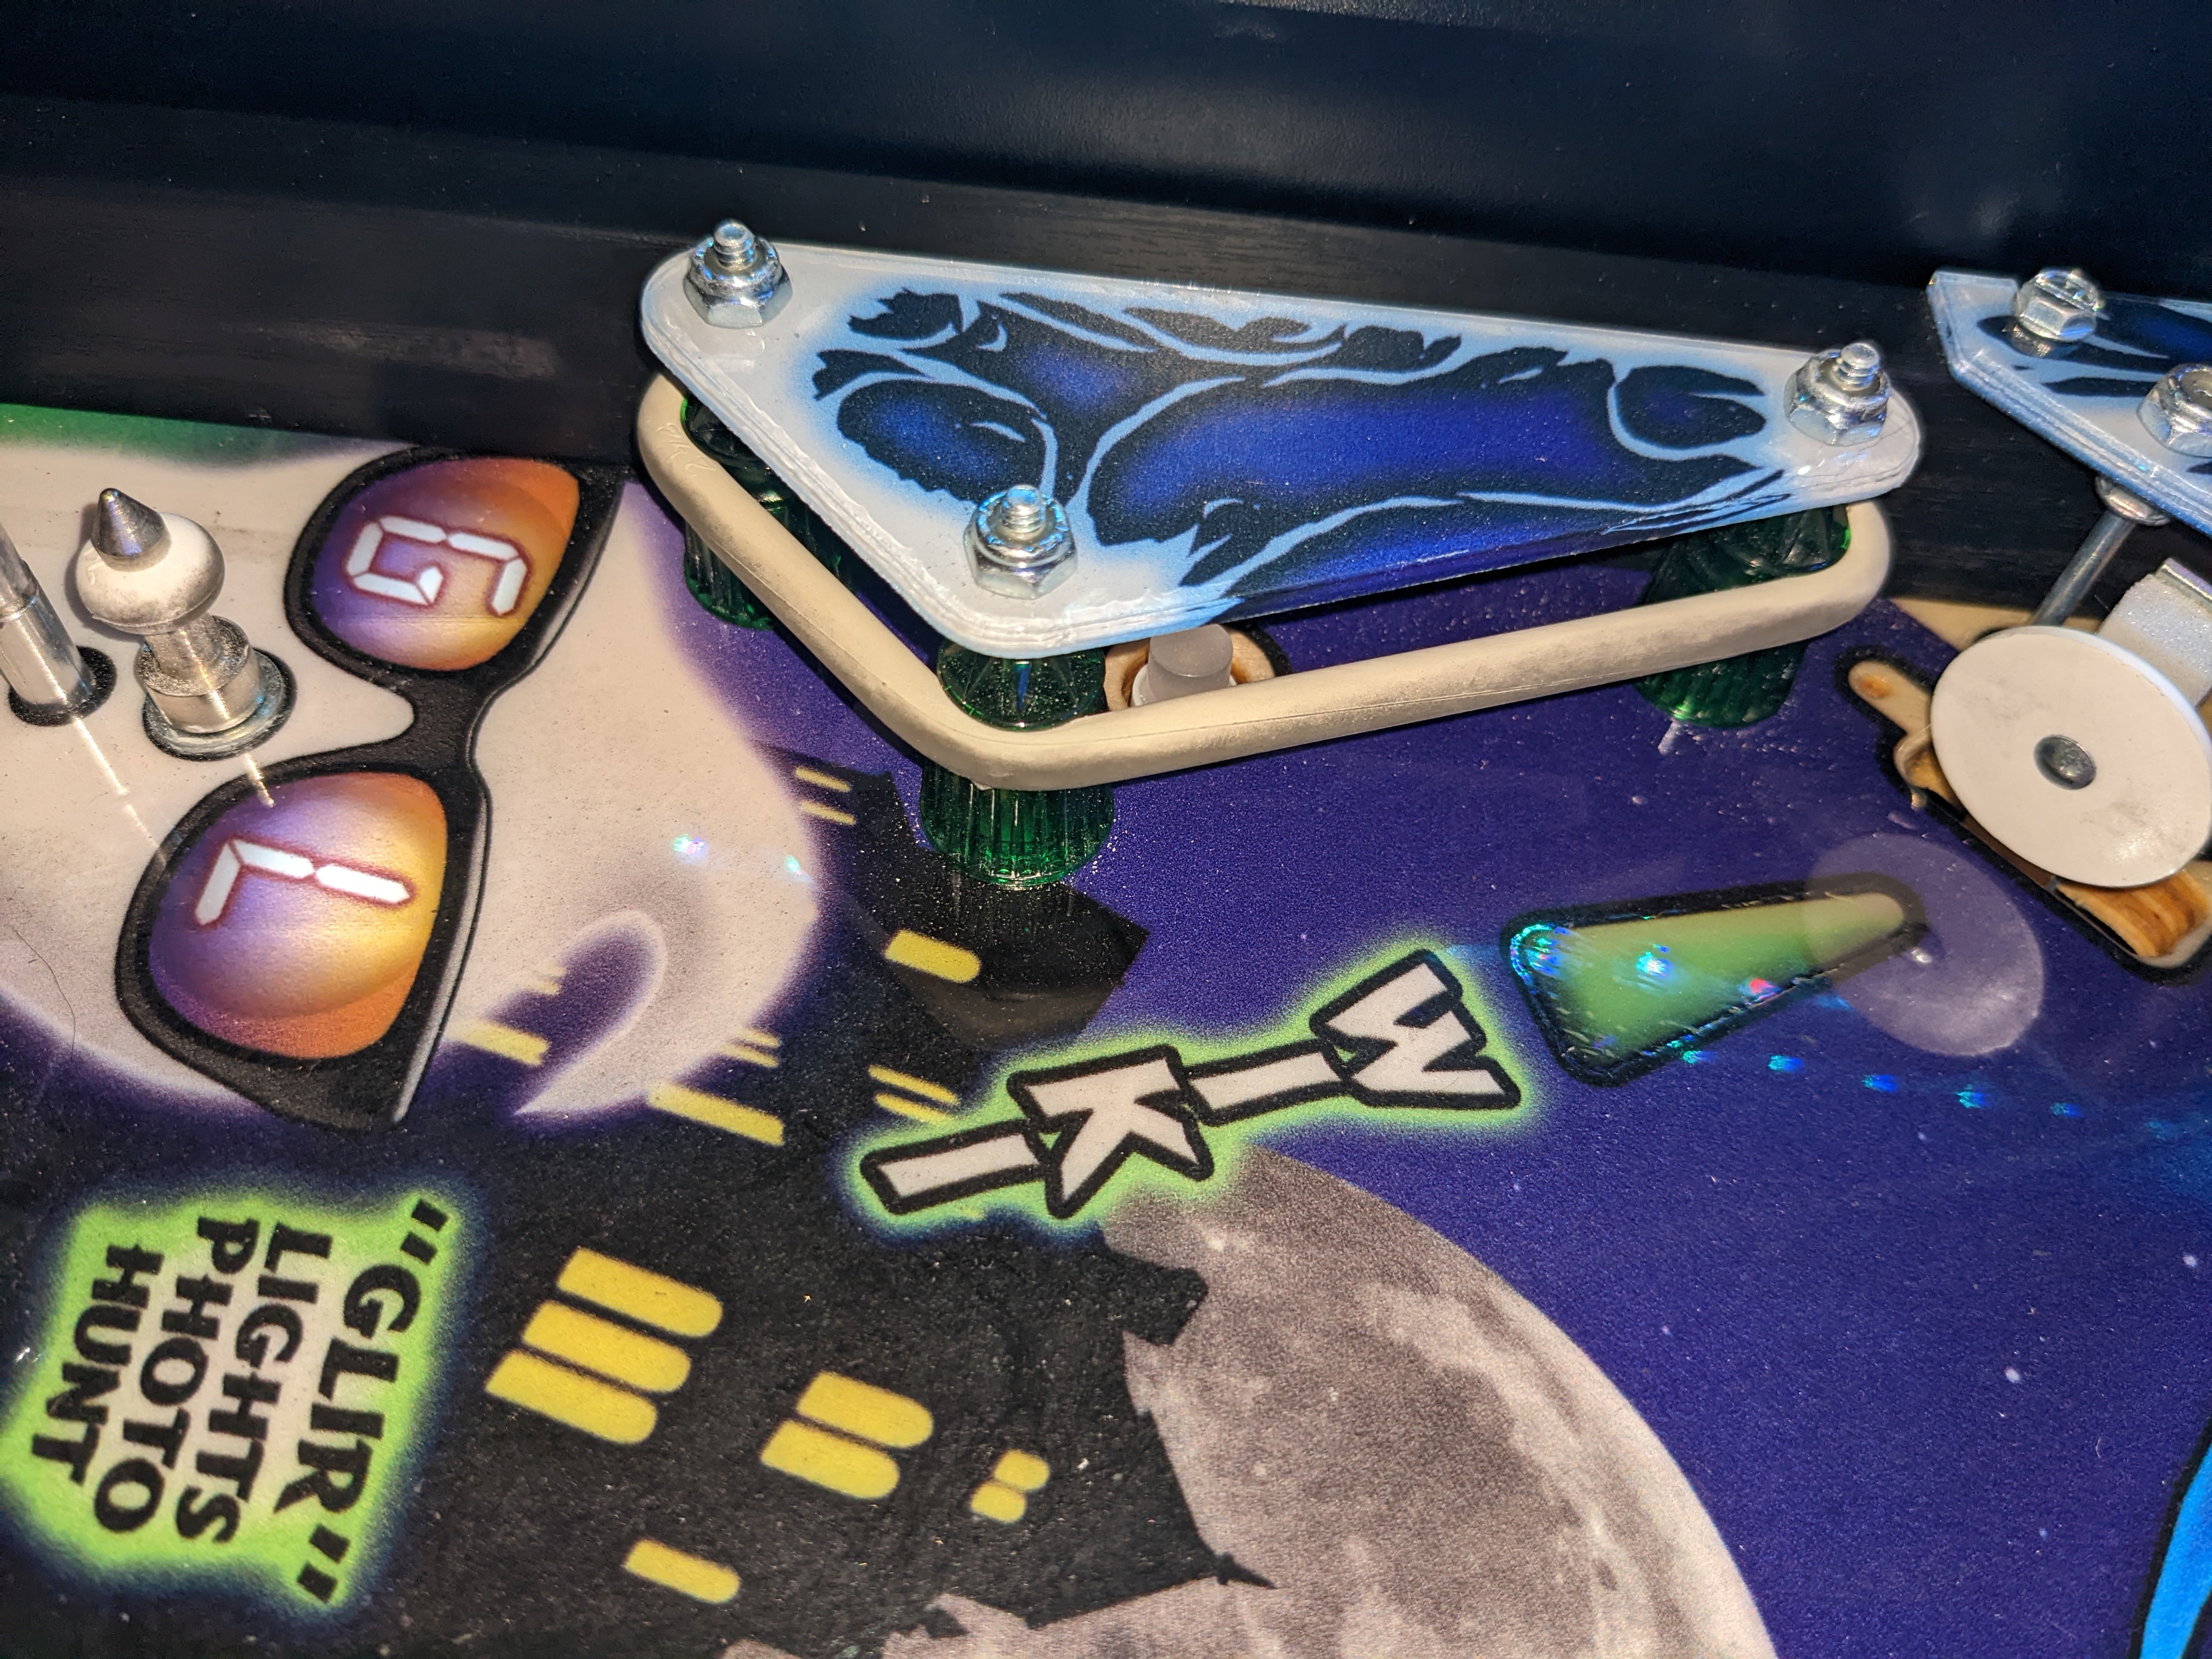
Posts and pops
Problem:
A lot of the posts that have a single rubber on them use 6-32 1.5"L screws that goes directly in to the playfield. Upon striping the machine down I found that a couple of these posts where very loose as they had pulled out of the playfiled.
Solution:
I replaced 6-32 1.5" screws with 6-32 2" screws then used a washers and nuts on the bottom of the playfield.
you may ask why i didn't use a T-Nut. I did not use a T-Nut because i did not want to widen the holes and the postes themselves would rarly need to be replaced.
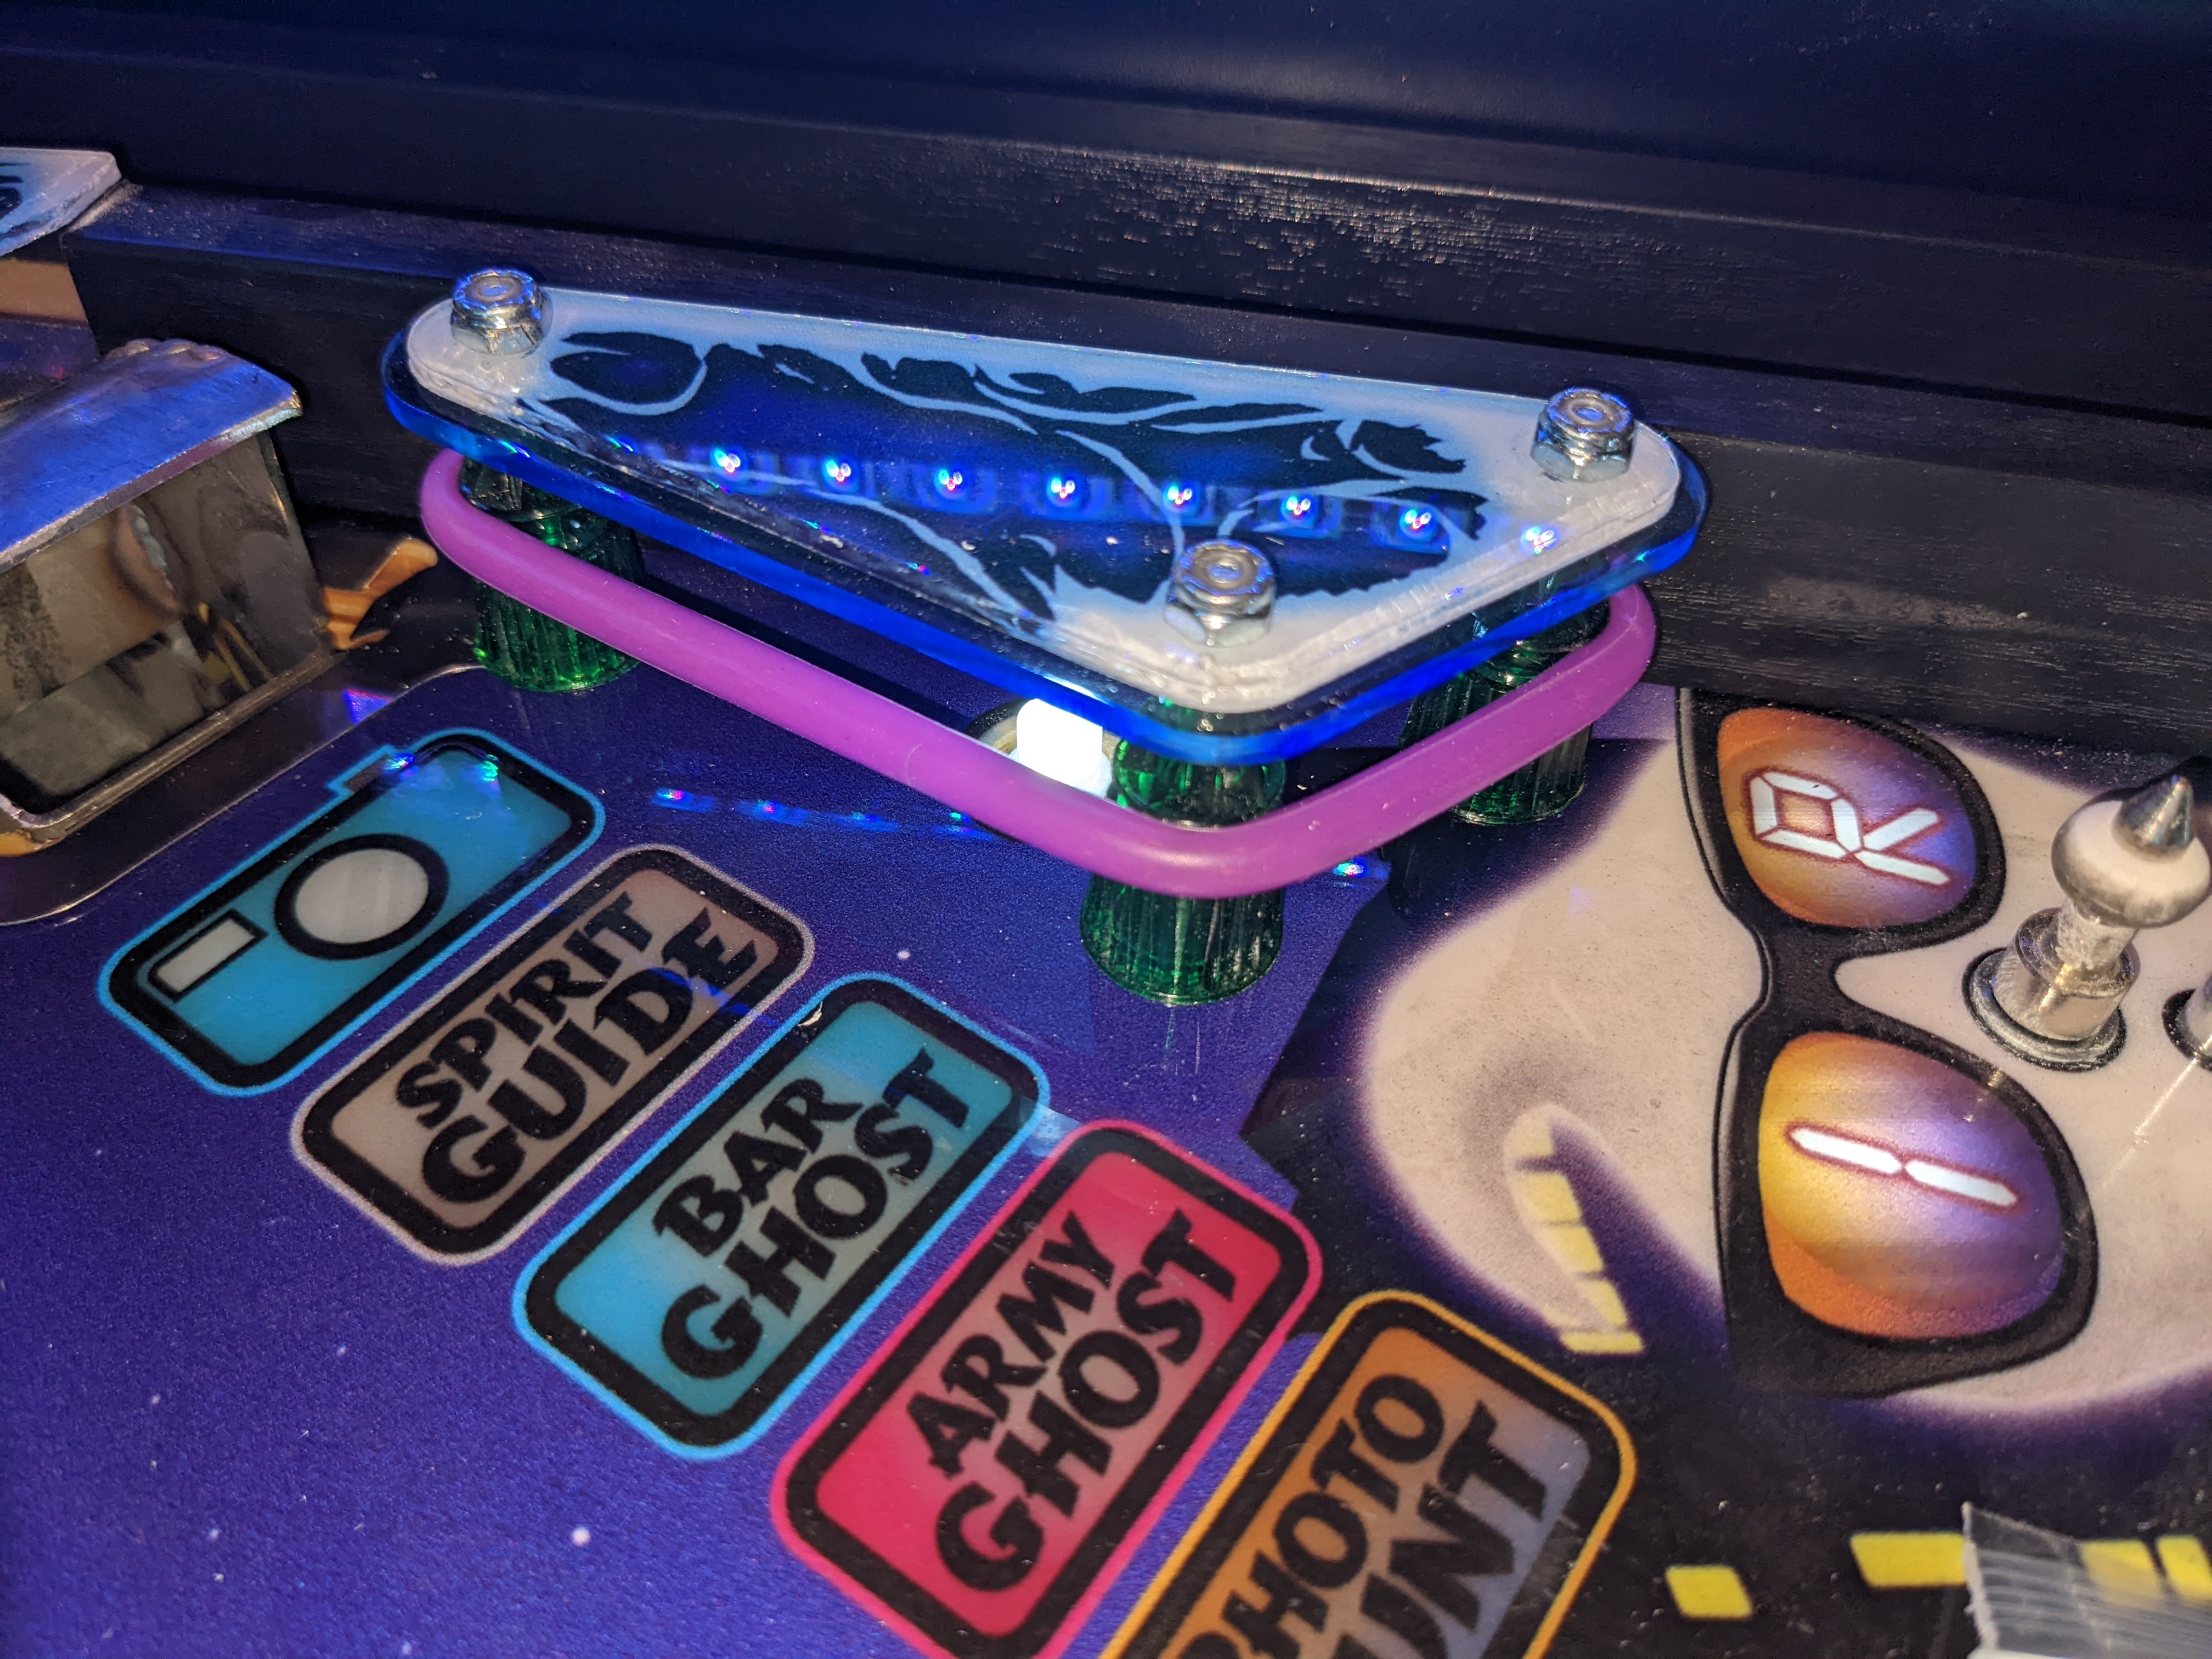
Problem:
There was one post that I could not simply replace the screw, with a longer one, the left pop bumper was in the way.
Solution: flip the pop bumber bracket 180°
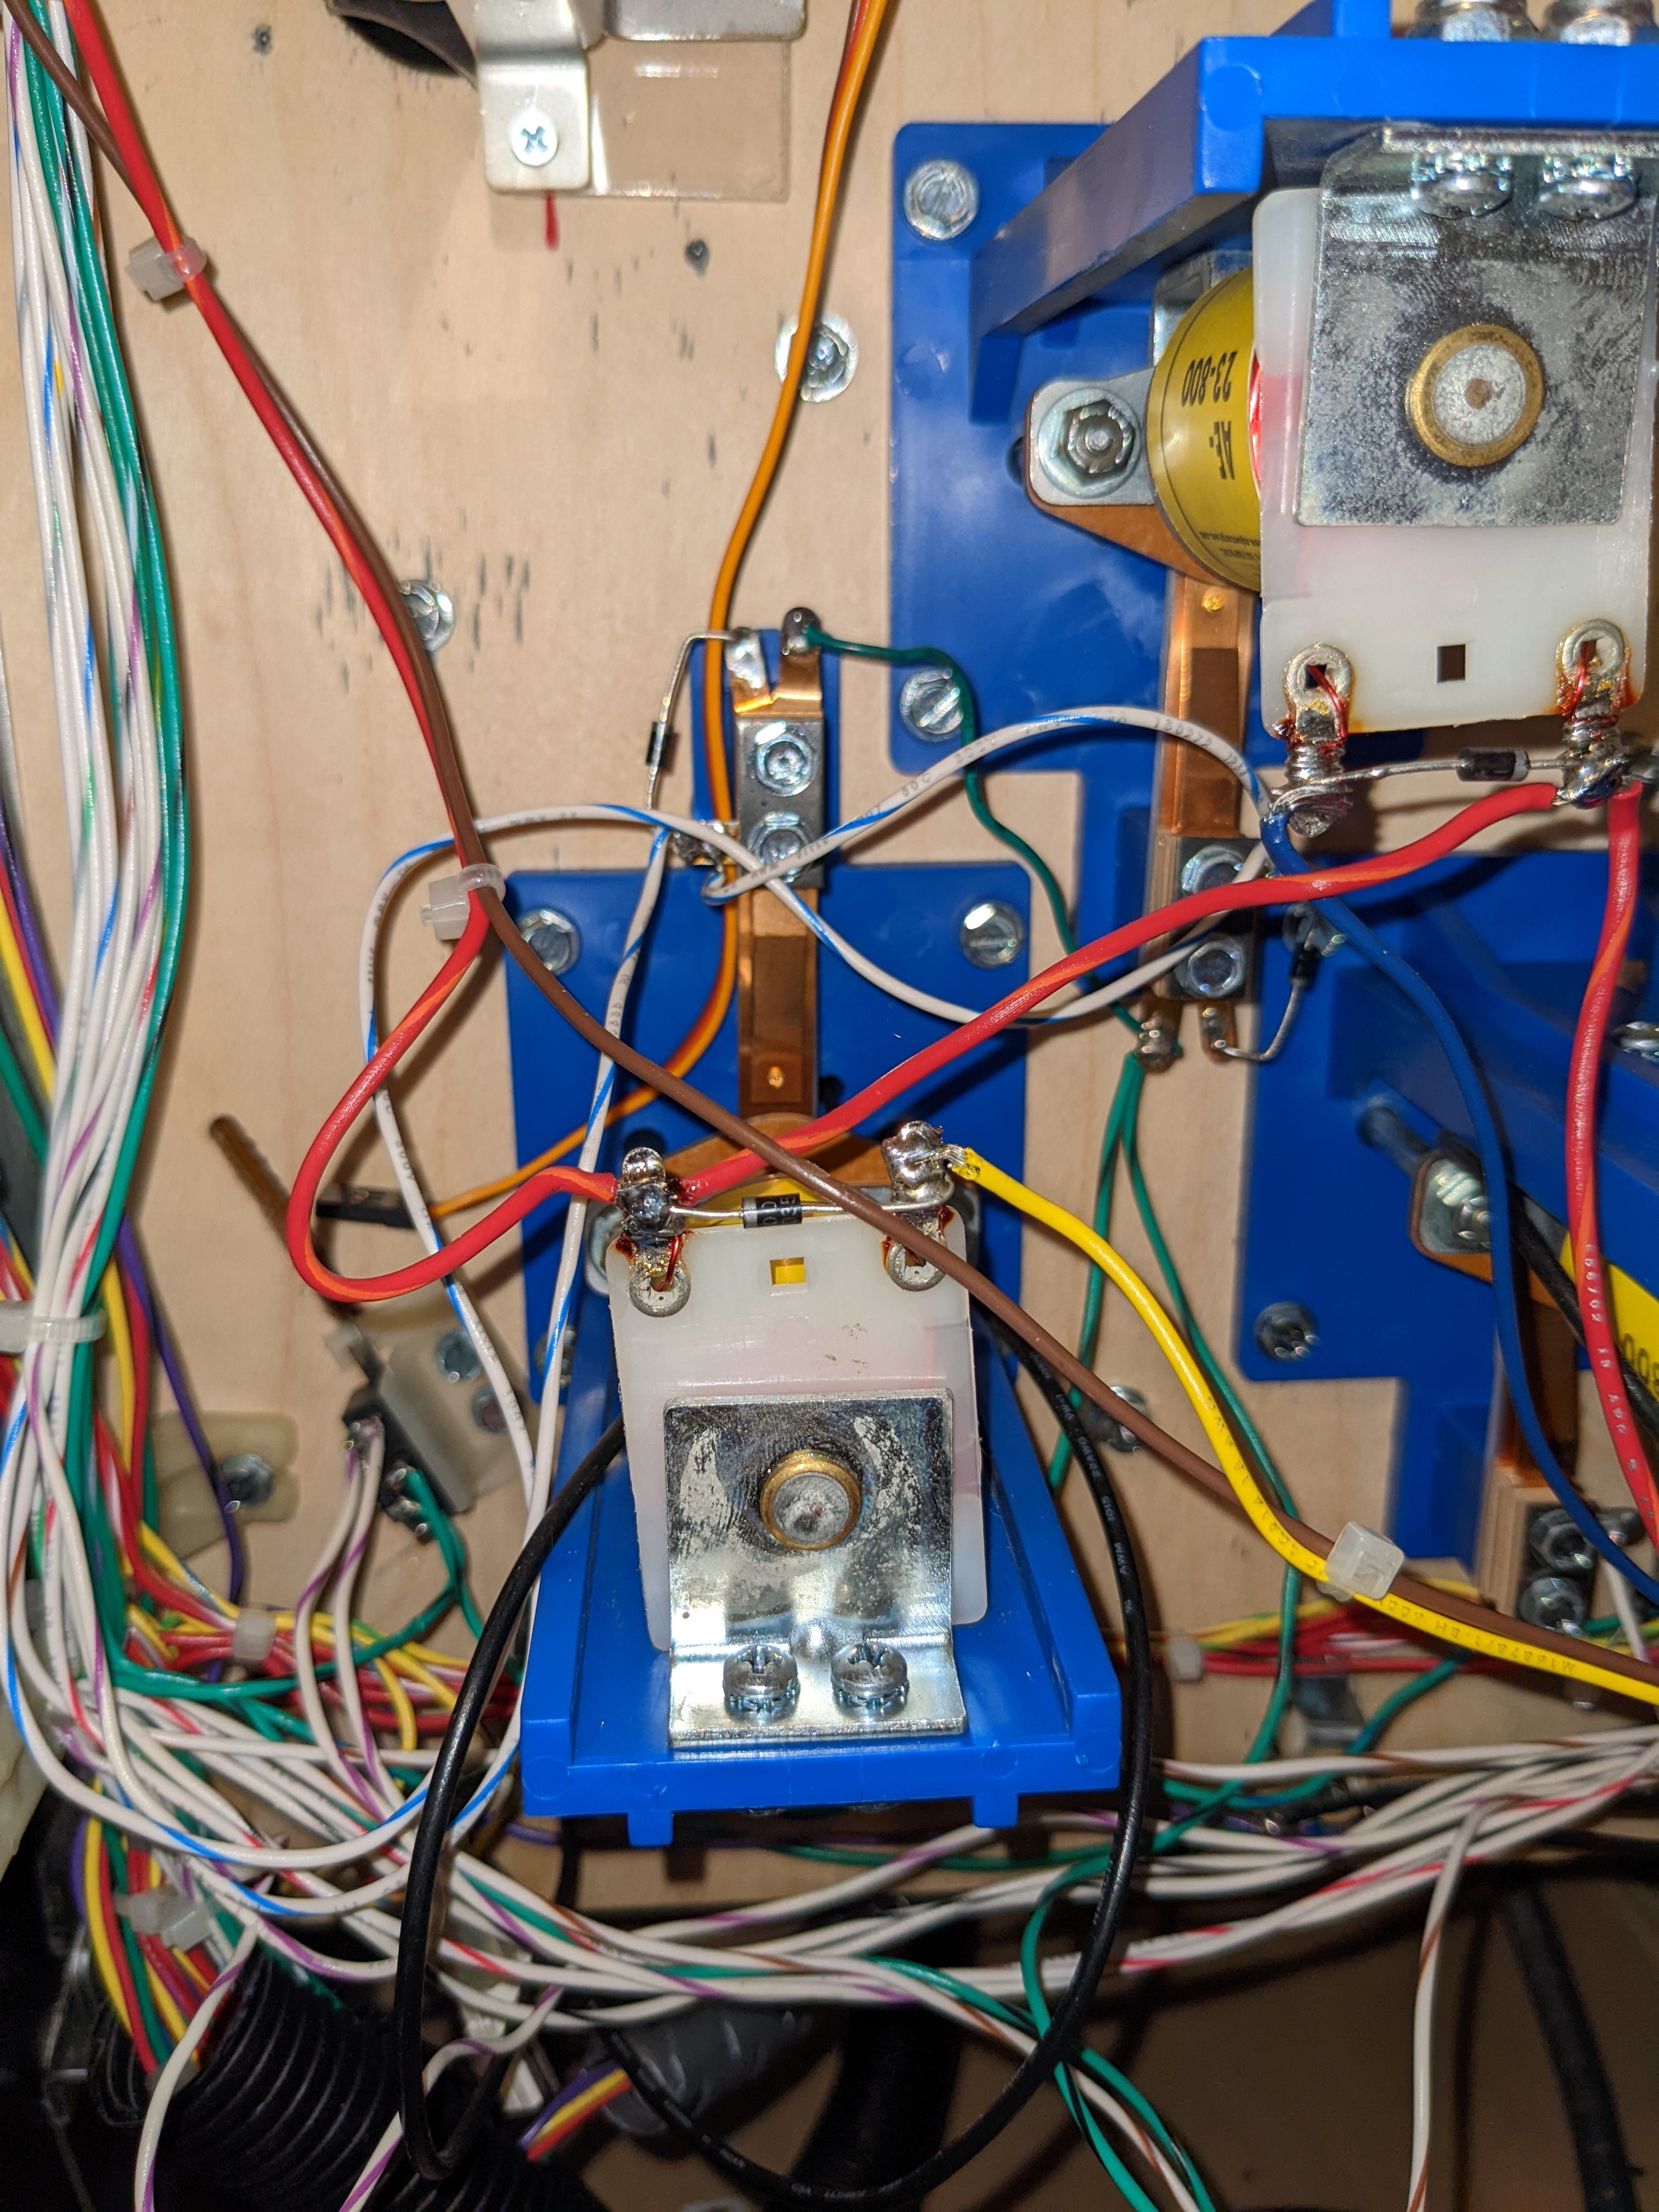
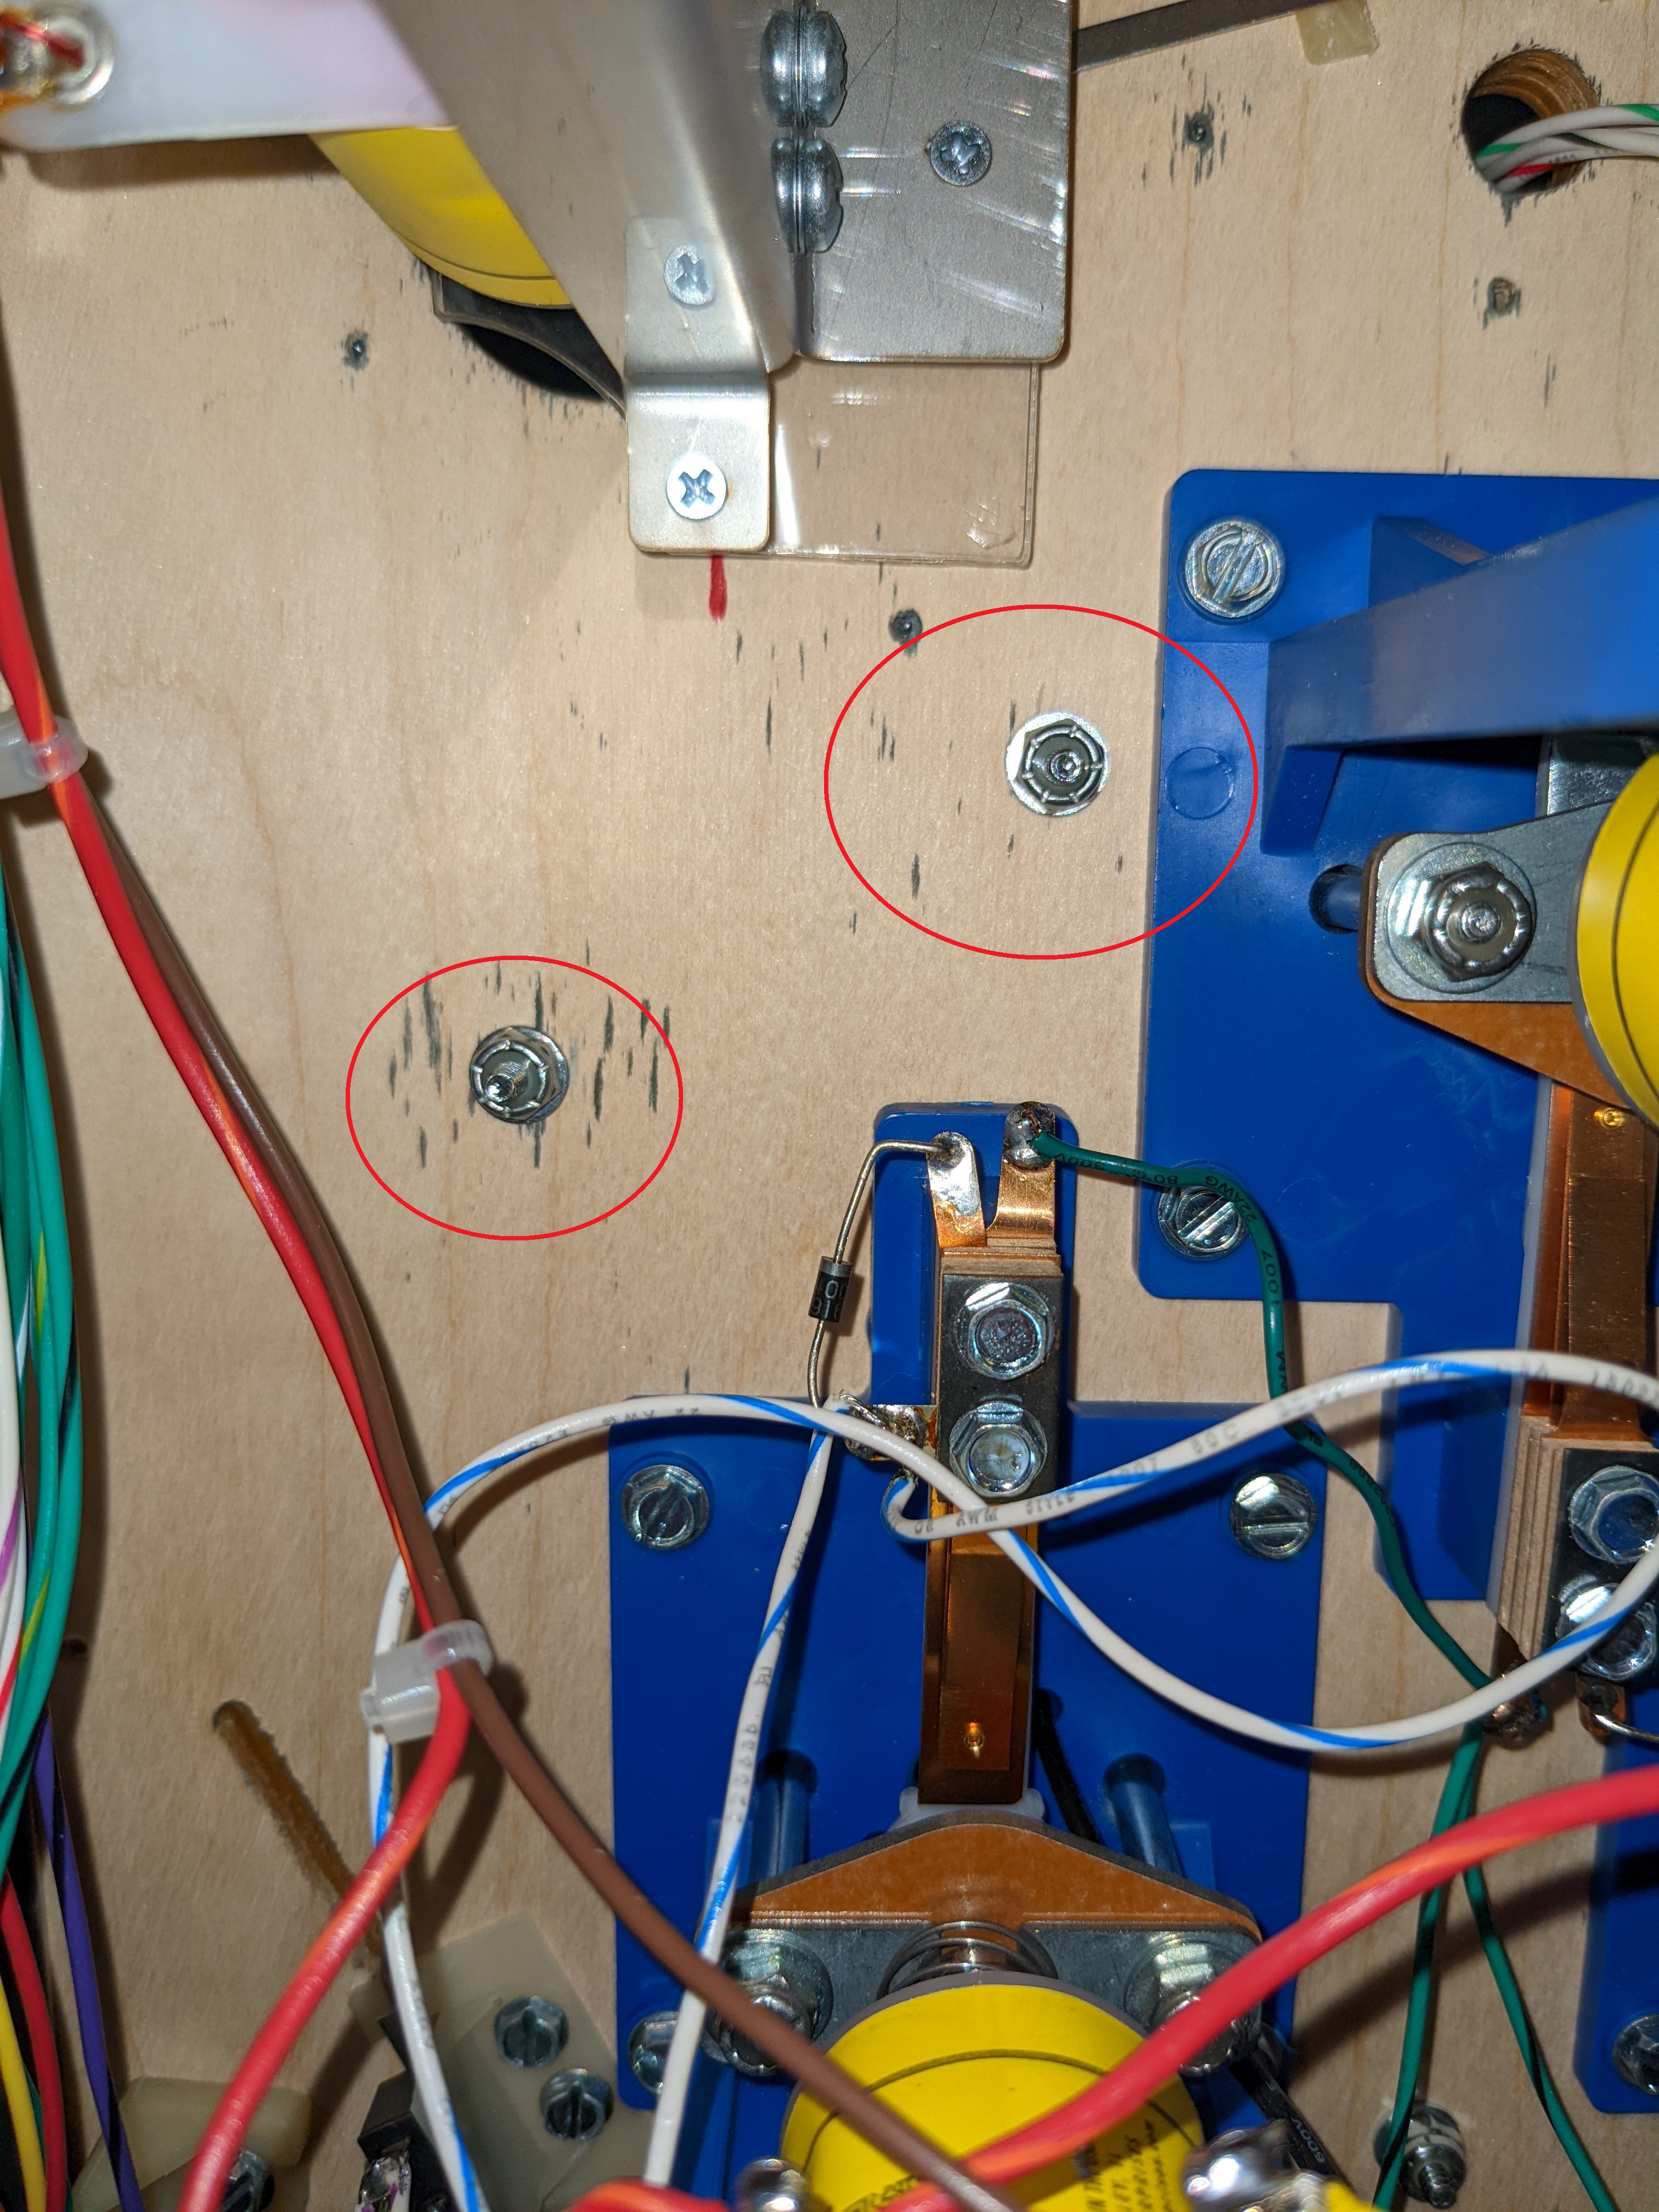

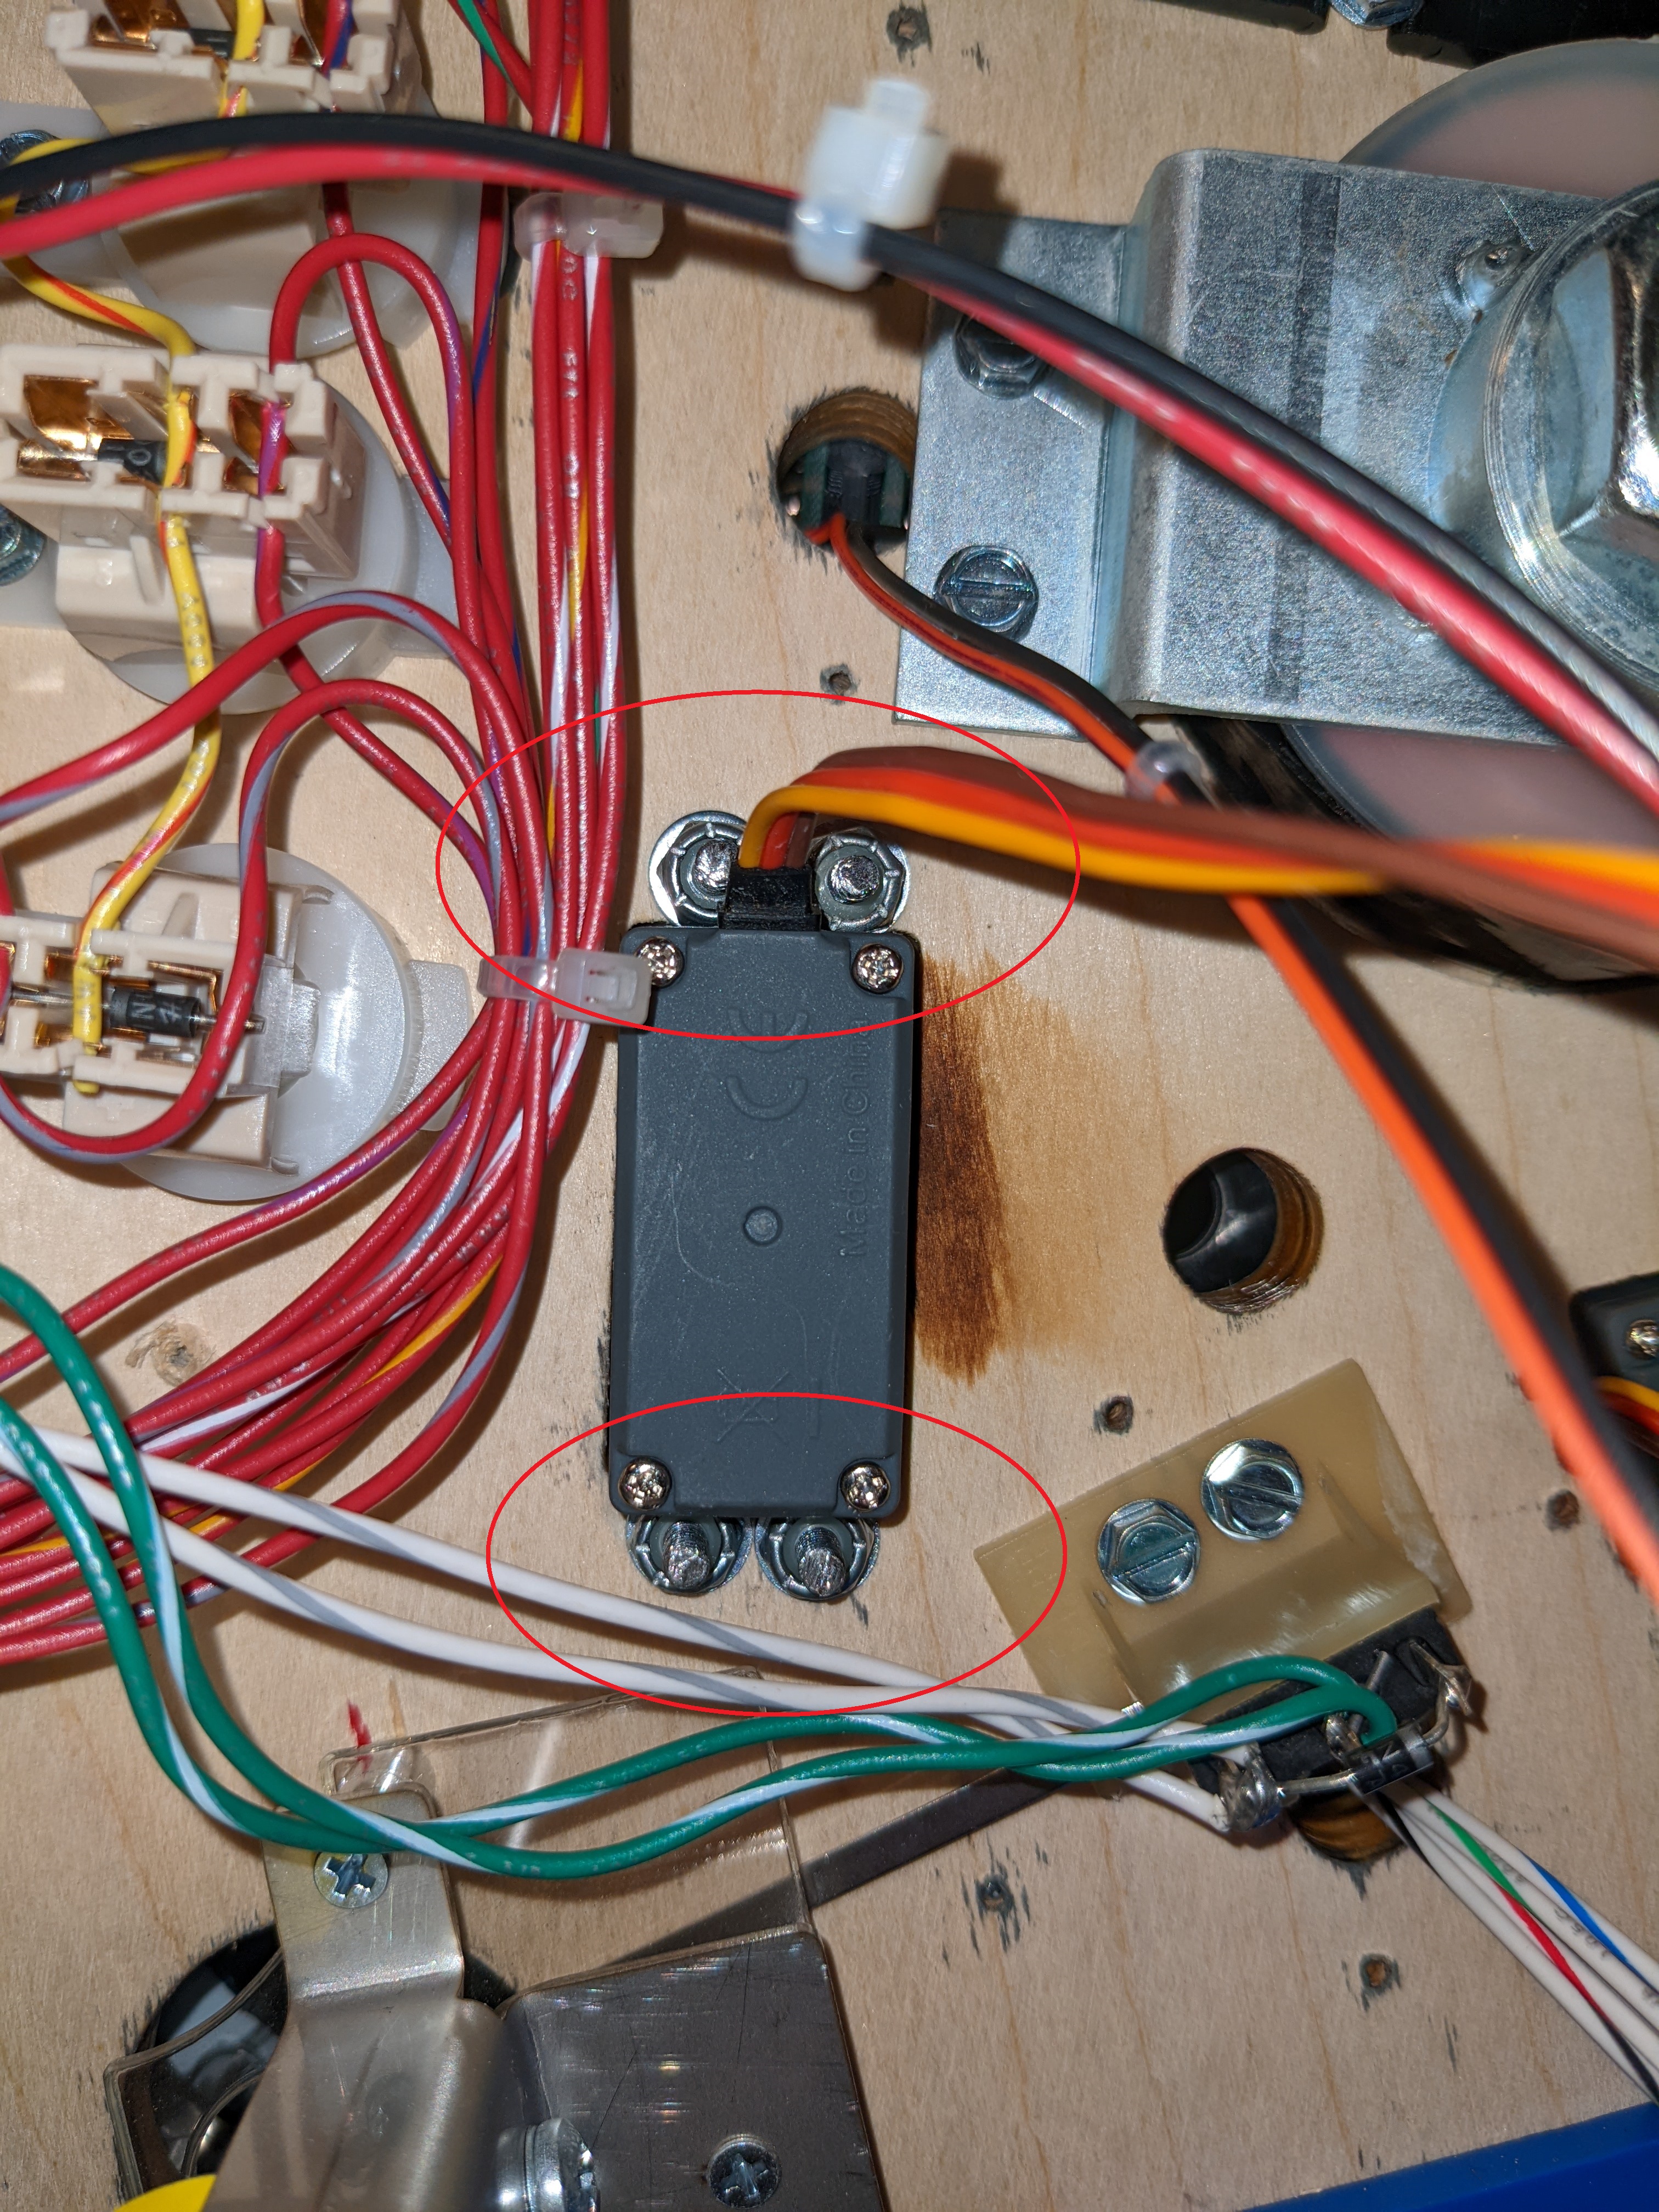
Door servo
Problem:
The door servo was installed with 4x pinball standard wood screws. The door being the bash toy that it is eventualy rips the screws from the playfiled.
Solution:
I filled the holes using wood glue and dowles. I then drilled out the holes for a 6-32 1.25in screw and secured tthem with washers and nuts. This does several things both good and bad. The good is that the playfield with not get further damage from screws ripping out. The bad on the other hand is that is requires more work to remove the servo motor when it needs to be replaced or serviced.
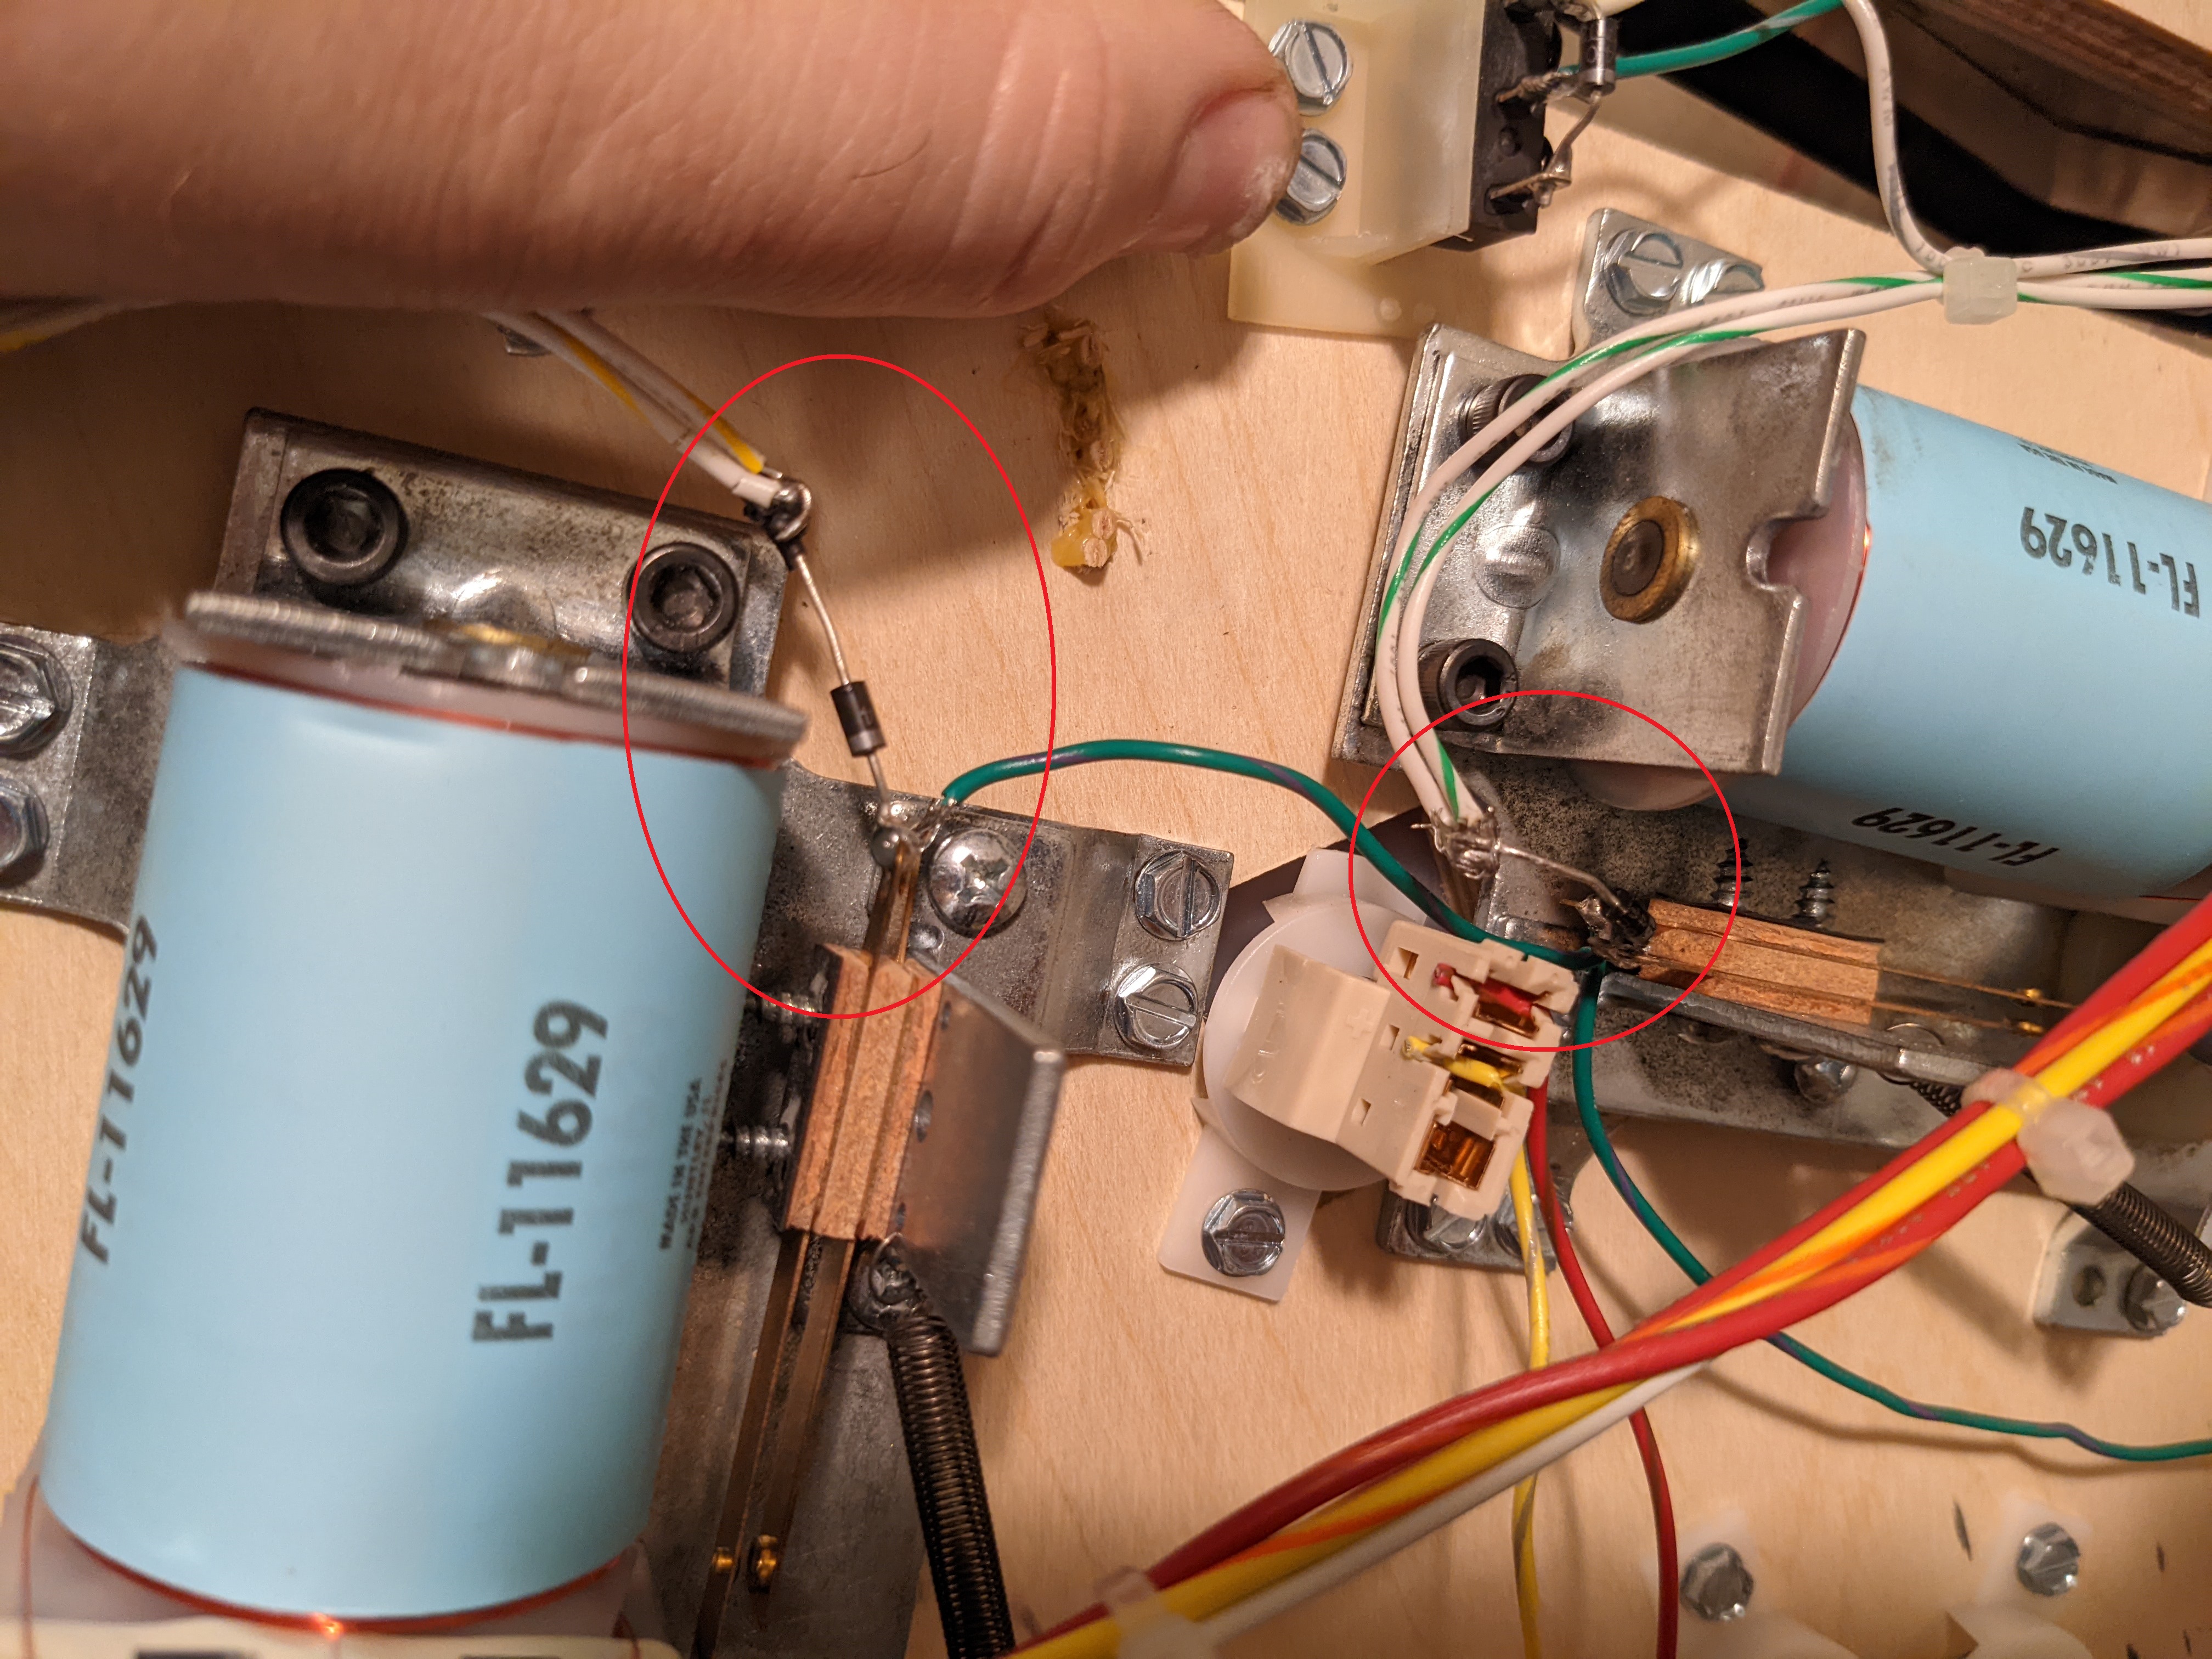
EOS
Problem:
I do not know if this was factory or a mod after the fact. The signal wire for the EOS switches was soldered to a diode and the diode was soldered to the switch. The diode was covered in electrical tape.
Solution:
I moved the diodes to a terminal strip
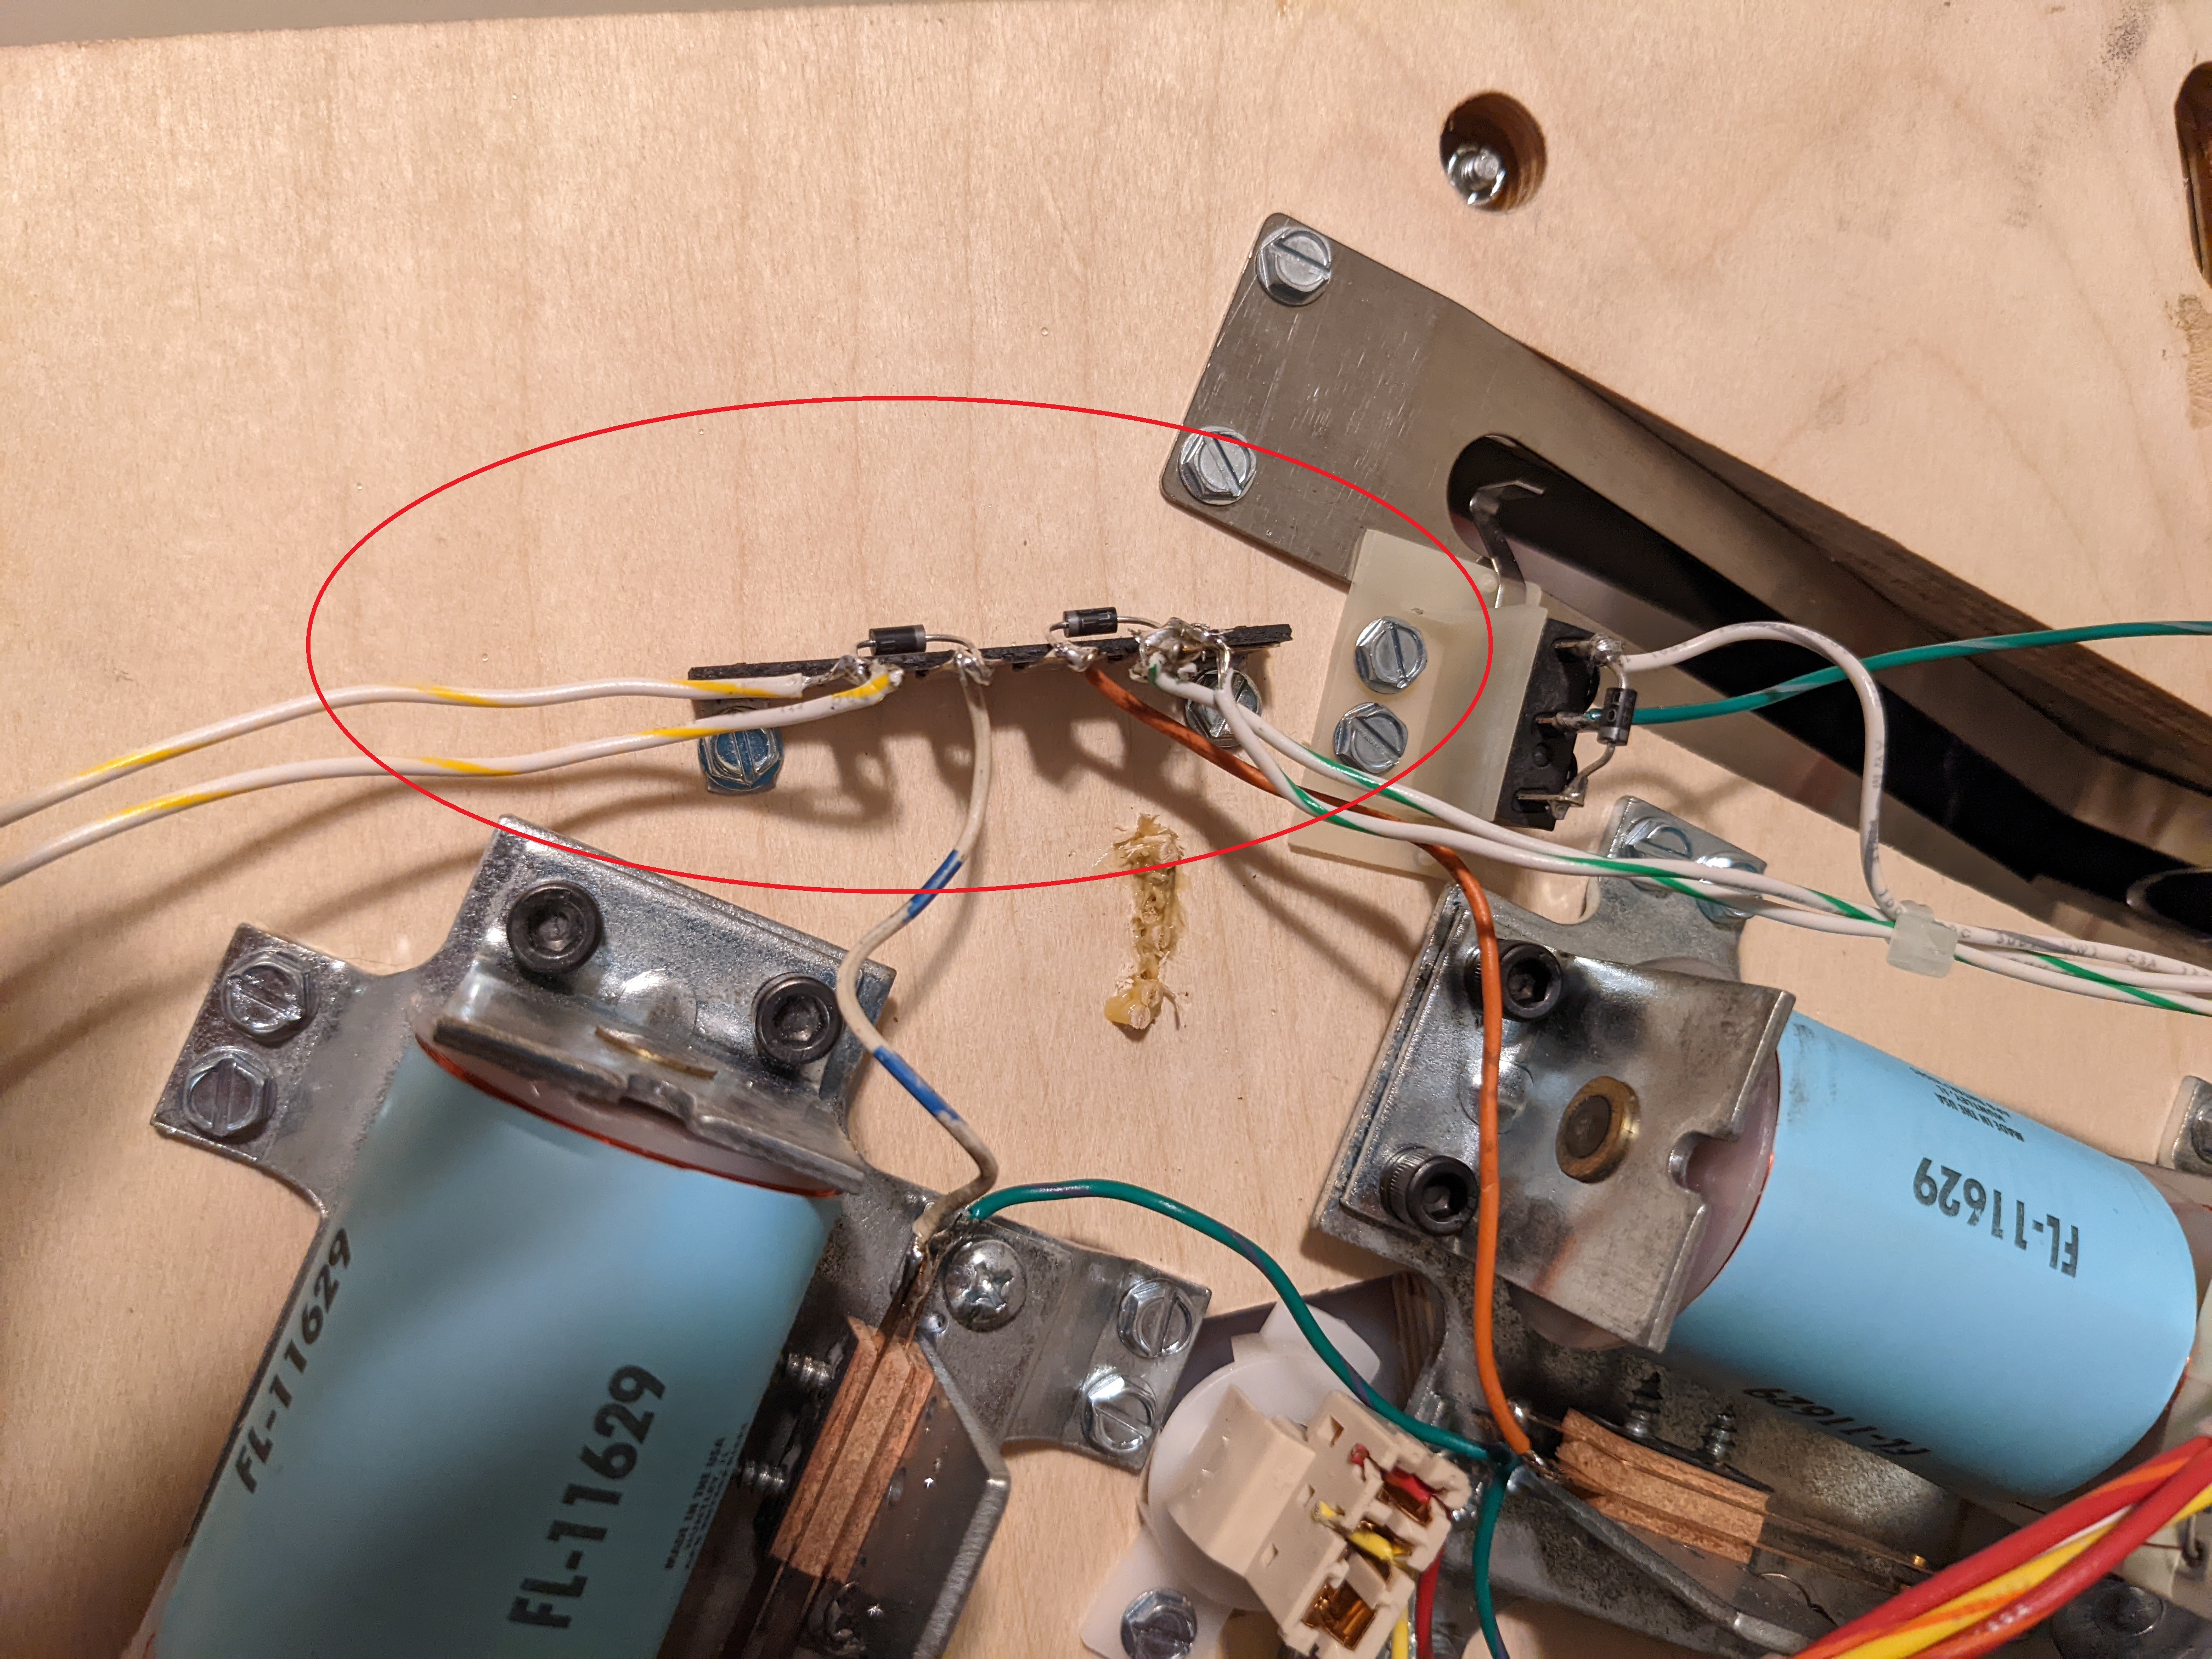
I added plastic protectors and installed purple Perfect Play rubbers. In the future I might switch the rubbers to a different color.